How To Set Up Raspberry Pi Remote Access Via Internet For Free: The Ultimate Guide
Setting up Raspberry Pi remote access via the internet for free is an exciting project that opens up endless possibilities for remote computing, home automation, and IoT projects. With just a few steps, you can securely access your Raspberry Pi from anywhere in the world without spending a dime. Whether you're a tech enthusiast, hobbyist, or professional developer, this guide will walk you through the entire process.
Remote access to your Raspberry Pi allows you to control and manage your device from any location, making it incredibly useful for tasks such as server management, file sharing, and automation. By following this step-by-step guide, you'll learn how to configure your Raspberry Pi to connect securely to the internet without requiring expensive third-party services.
Whether you're a beginner or an experienced user, this guide is designed to provide clear and actionable steps to help you achieve seamless remote access. Let's dive in and explore the world of Raspberry Pi remote access!
Read also:Mike Adriani The Rising Star In The Entertainment Industry
Table of Contents
- Introduction
- Understanding Raspberry Pi Basics
- Overview of Remote Access Methods
- Hardware and Software Requirements
- Step-by-Step Setup Guide
- Securing Your Remote Access
- Troubleshooting Common Issues
- Alternative Methods for Remote Access
- Applications of Raspberry Pi Remote Access
- Conclusion and Call to Action
Introduction
Remote access to your Raspberry Pi via the internet is a powerful feature that enables you to manage your device from anywhere. This guide will focus on how to set up Raspberry Pi remote access via the internet for free, ensuring that you can enjoy the benefits of remote computing without incurring additional costs.
Understanding Raspberry Pi Basics
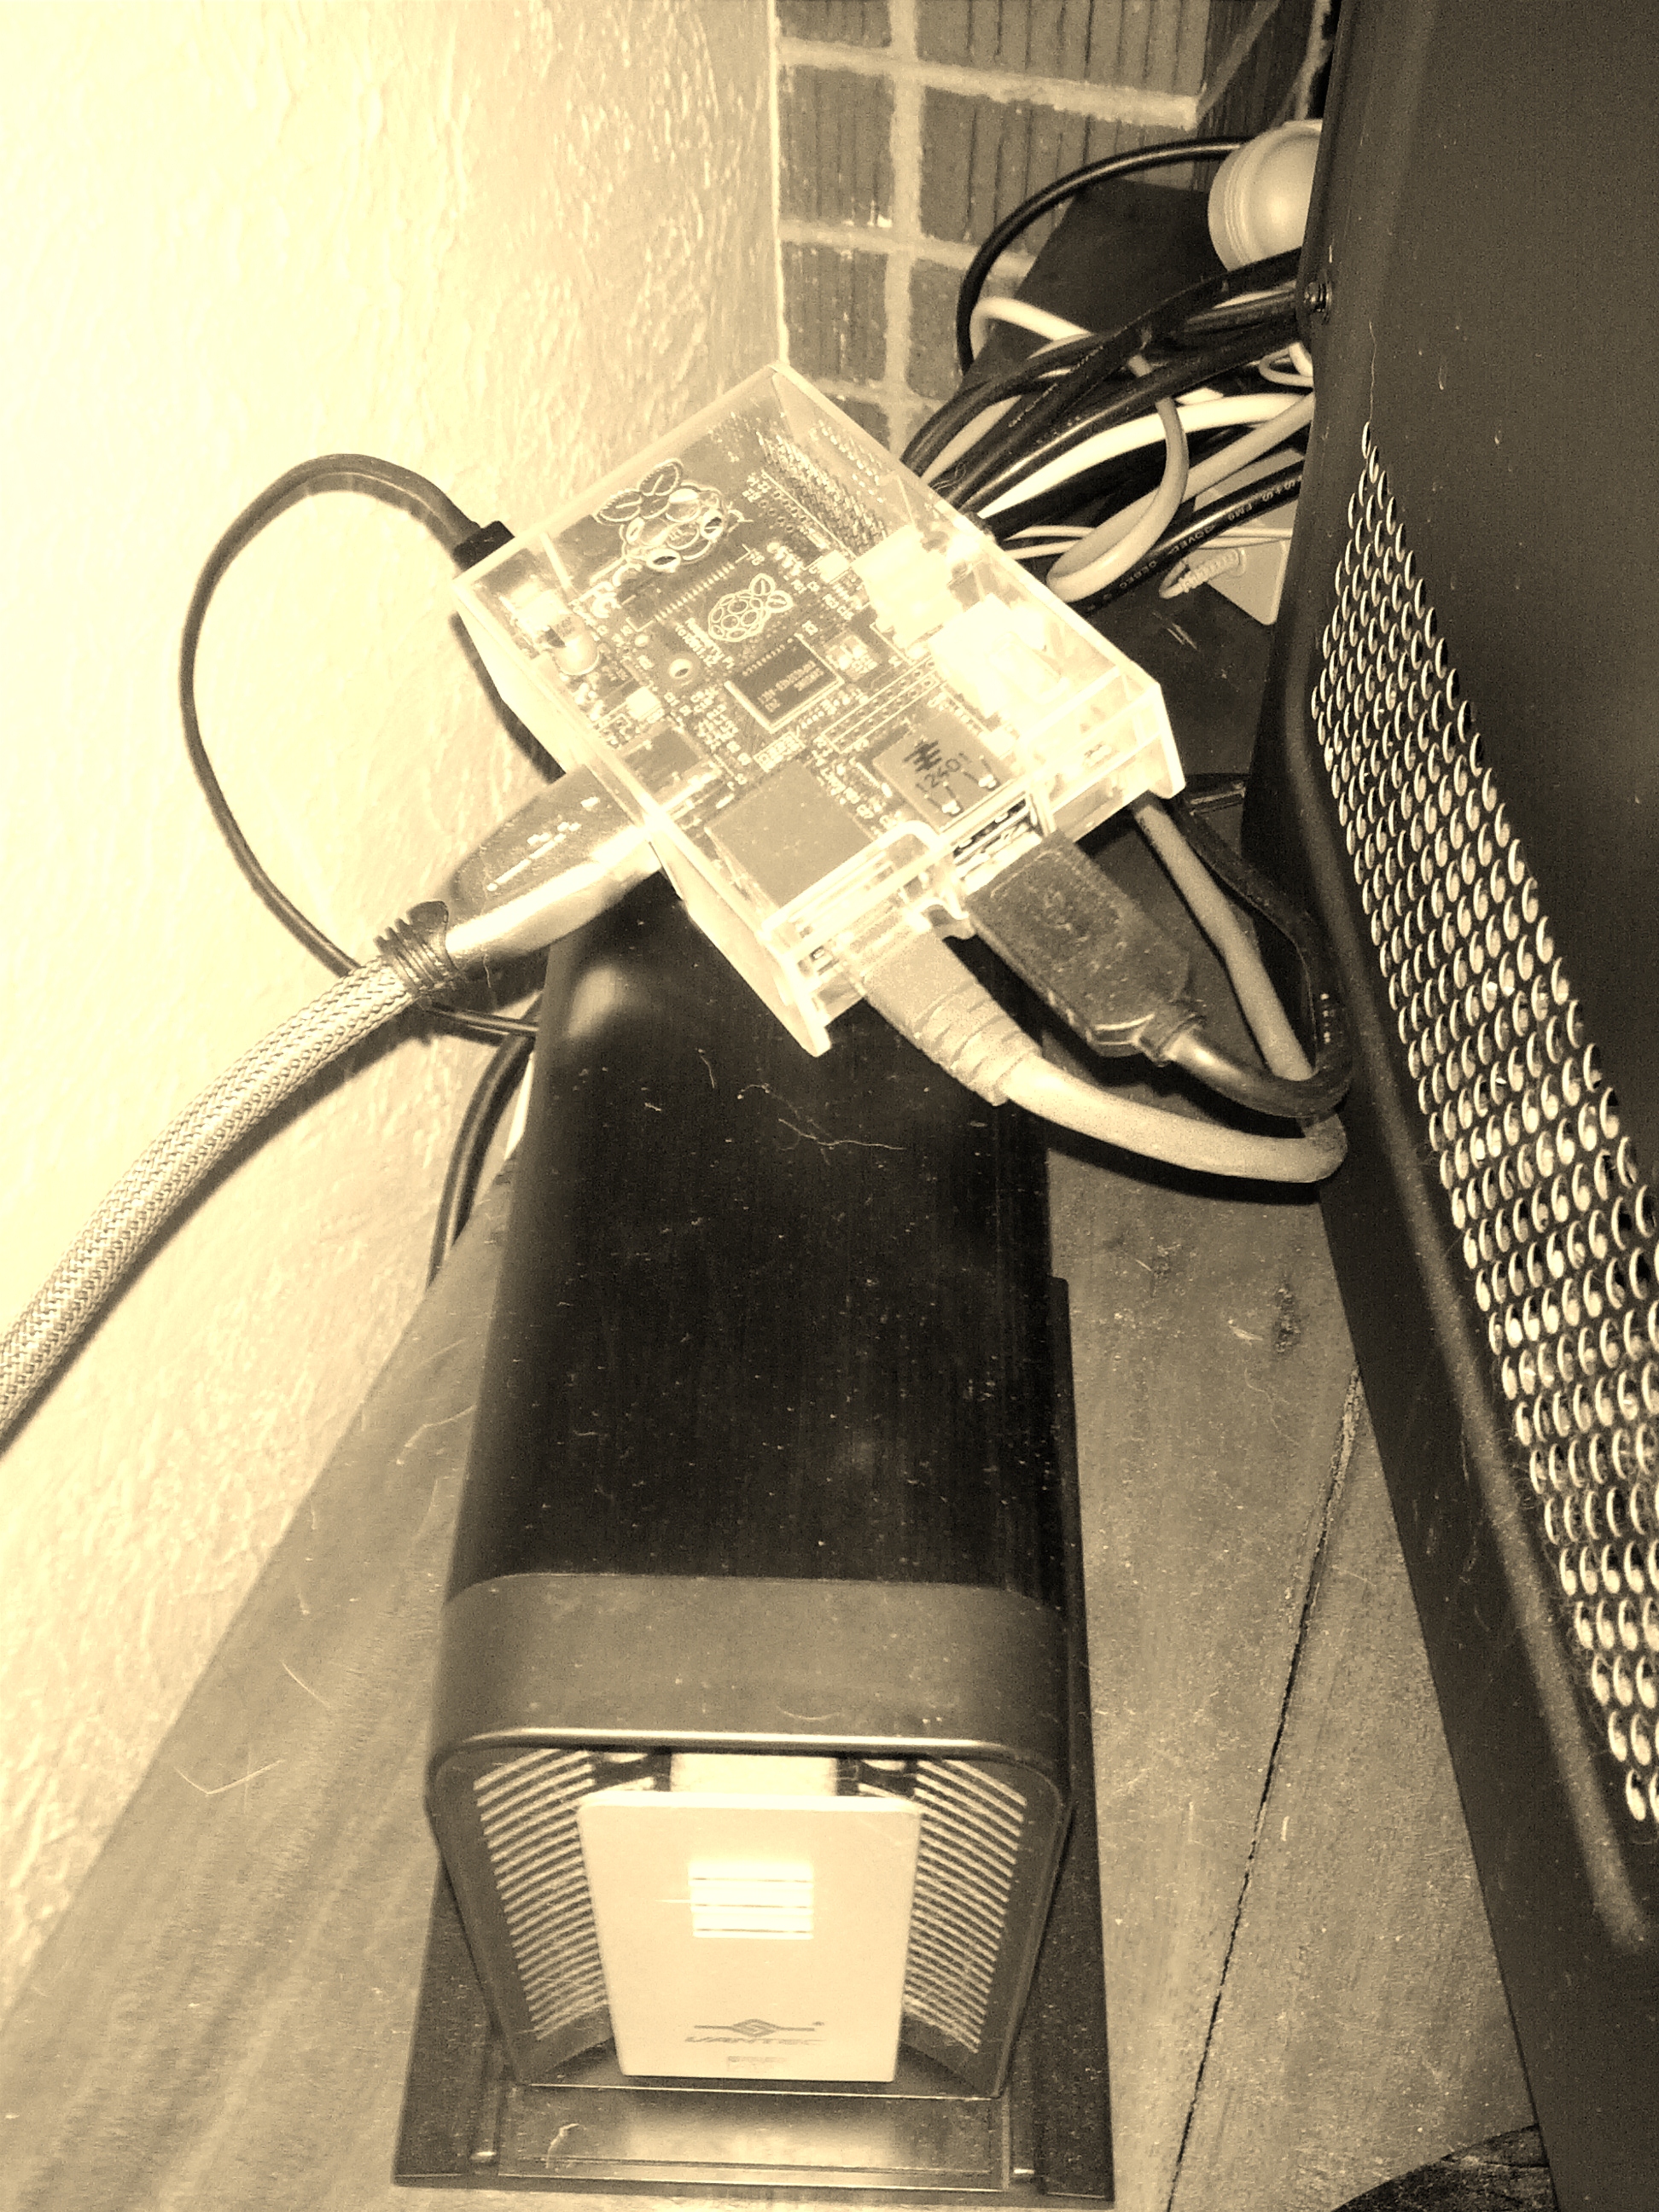
Before diving into the setup process, it's essential to understand the basics of Raspberry Pi. The Raspberry Pi is a small, affordable computer that can be used for a variety of tasks, from learning programming to building complex IoT systems.
Key Features of Raspberry Pi
- Compact and affordable design
- Supports multiple operating systems
- Highly customizable for various applications
Raspberry Pi's versatility makes it ideal for remote access projects, allowing users to control their devices from anywhere in the world.
Overview of Remote Access Methods
There are several methods to achieve Raspberry Pi remote access via the internet. The most common methods include:
- SSH (Secure Shell)
- Port forwarding
- Reverse SSH tunneling
- Third-party services (e.g., ngrok, PageKite)
In this guide, we'll focus on setting up remote access using SSH and port forwarding, which are both free and secure options.
Hardware and Software Requirements
Before you begin, ensure you have the necessary hardware and software components:
Read also:Jayshri Gaikwad The Rising Star Who Made Her Mark In Bollywood
Hardware Requirements
- Raspberry Pi (any model)
- Power supply
- MicroSD card with Raspberry Pi OS installed
- Network connectivity (Wi-Fi or Ethernet)
Software Requirements
- Raspberry Pi OS
- SSH client (e.g., PuTTY for Windows)
Having the right setup ensures a smooth configuration process.
Step-by-Step Setup Guide
Follow these steps to set up Raspberry Pi remote access via the internet:
Step 1: Enable SSH on Raspberry Pi
SSH is the foundation of remote access. To enable SSH on your Raspberry Pi:
- Open the Raspberry Pi Configuration tool.
- Navigate to the "Interfaces" tab.
- Select "SSH" and enable it.
Step 2: Determine Your Raspberry Pi's IP Address
To connect remotely, you need to know your Raspberry Pi's local IP address. You can find this by running the following command in the terminal:
ifconfig
Look for the "inet" address under the "wlan0" or "eth0" section.
Step 3: Set Up Port Forwarding
Port forwarding allows external devices to connect to your Raspberry Pi through your router. Here's how:
- Log in to your router's admin panel.
- Locate the "Port Forwarding" section.
- Set up a rule to forward port 22 (default SSH port) to your Raspberry Pi's local IP address.
Step 4: Test Local Access
Before attempting remote access, test your setup locally using an SSH client. Connect to your Raspberry Pi using its local IP address and ensure everything works correctly.
Step 5: Obtain Your Public IP Address
Your public IP address is required for external access. You can find it by visiting websites like WhatIsMyIP.com.
Step 6: Connect Remotely
Using an SSH client, connect to your Raspberry Pi using your public IP address. For example:
ssh pi@your_public_ip_address
Enter your Raspberry Pi's password when prompted.
Securing Your Remote Access
Security is crucial when setting up remote access. Follow these best practices to protect your Raspberry Pi:
Use Strong Passwords
Create strong, unique passwords for your Raspberry Pi user accounts. Avoid using default credentials.
Enable Two-Factor Authentication
Consider implementing two-factor authentication (2FA) for added security. Tools like Google Authenticator can be integrated with SSH.
Change Default SSH Port
Changing the default SSH port (22) can reduce the risk of automated attacks. Update your SSH configuration file:
sudo nano /etc/ssh/sshd_config
Change the "Port" value to a non-standard number and restart the SSH service.
Troubleshooting Common Issues
Here are some common issues you may encounter and how to resolve them:
Connection Timeout
If you're unable to connect, ensure that:
- Port forwarding is correctly configured.
- Your router's firewall allows incoming connections on the specified port.
Incorrect IP Address
Double-check that you're using the correct public IP address and Raspberry Pi's local IP address.
Security Concerns
If you suspect unauthorized access, immediately change your passwords and review your SSH logs for suspicious activity.
Alternative Methods for Remote Access
While SSH and port forwarding are effective, there are alternative methods for Raspberry Pi remote access:
ngrok
ngrok is a popular tool that creates secure tunnels to your Raspberry Pi. It simplifies the process of setting up remote access without requiring port forwarding.
PageKite
PageKite offers similar functionality to ngrok, allowing you to expose your Raspberry Pi to the internet with ease.
Applications of Raspberry Pi Remote Access
Once you've set up remote access, you can explore various applications:
Home Automation
Control smart home devices remotely using your Raspberry Pi as a central hub.
File Sharing
Set up a personal cloud storage system to access files from anywhere.
Server Management
Manage web servers, databases, and other services hosted on your Raspberry Pi.
Conclusion and Call to Action
Setting up Raspberry Pi remote access via the internet for free is a valuable skill that opens up countless possibilities. By following this guide, you've learned how to configure SSH, set up port forwarding, and secure your remote connection. Remember to prioritize security and regularly update your Raspberry Pi to protect against vulnerabilities.
We encourage you to share your experience and ask questions in the comments section below. Don't forget to explore our other articles on Raspberry Pi projects and tutorials. Happy tinkering!


