Remote IoT Monitoring SSH: The Ultimate Guide For Mac Users
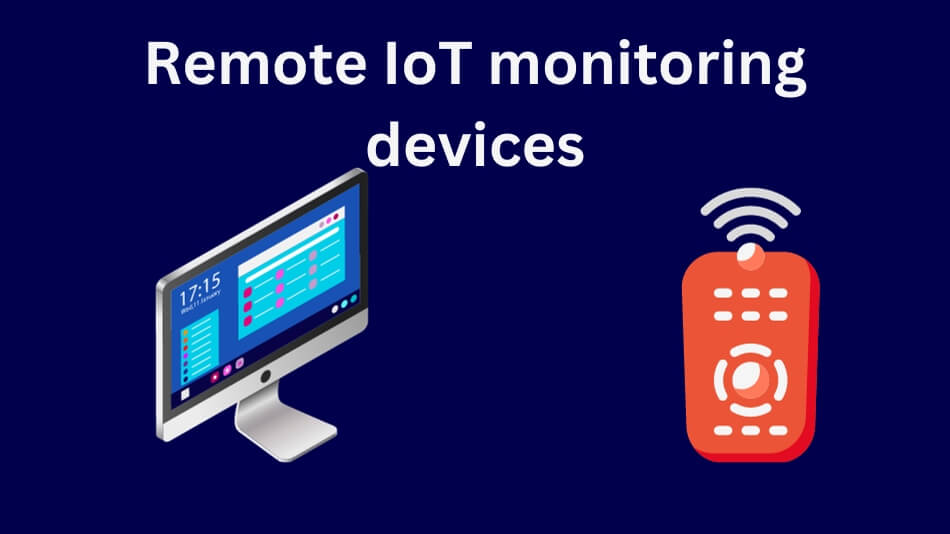
Remote IoT monitoring via SSH has become increasingly important for Mac users who need to manage and control their IoT devices efficiently. As the Internet of Things (IoT) continues to grow, the demand for secure and reliable remote access solutions rises. With SSH (Secure Shell), Mac users can easily connect to their IoT devices from anywhere in the world, ensuring that they maintain control and security over their networks and devices.
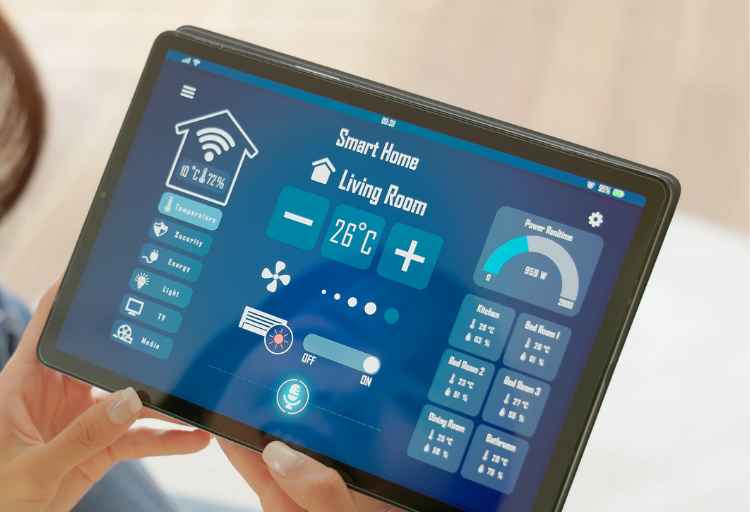
Imagine being able to monitor your smart home devices, industrial sensors, or even agricultural systems from the comfort of your Mac laptop. Remote IoT monitoring through SSH provides this capability while ensuring the highest level of security. Whether you're a hobbyist, a professional developer, or an enterprise IT administrator, understanding how to use SSH for remote IoT monitoring is essential.
This guide will walk you through everything you need to know about remote IoT monitoring with SSH for Mac users. From setting up SSH connections to troubleshooting common issues, we'll cover it all. By the end of this article, you'll have the knowledge and tools necessary to implement secure remote IoT monitoring on your Mac.
Read also:Schizophrenia Understanding The Complexity Of A Misunderstood Disorder
Table of Contents
- Introduction to SSH
- Why SSH for Remote IoT Monitoring?
- Setting Up SSH on Mac
- Connecting to IoT Devices
- Securing Your SSH Connection
- Troubleshooting SSH Issues
- Best Practices for Remote IoT Monitoring
- Common Use Cases
- Tools for Efficient SSH Monitoring
- Conclusion and Next Steps
Introduction to SSH
SSH, or Secure Shell, is a cryptographic network protocol used for secure communication between two devices over an unsecured network. Originally developed in 1995, SSH has become the gold standard for remote access and management of devices. It provides a secure way to log into remote servers, transfer files, and execute commands—all while ensuring that data is encrypted and protected from unauthorized access.
For Mac users, SSH is pre-installed, making it easy to start using right away. However, understanding how SSH works and how to configure it properly is crucial for effective remote IoT monitoring. In this section, we'll explore the basics of SSH and why it's a preferred choice for managing IoT devices.
Why SSH for Remote IoT Monitoring?
When it comes to remote IoT monitoring, security is paramount. IoT devices are often deployed in remote locations, and without proper security measures, they can become vulnerable to cyberattacks. SSH offers several advantages that make it an ideal choice for remote IoT monitoring:
- Encryption: SSH encrypts all data transmitted between your Mac and the IoT device, ensuring that sensitive information remains secure.
- Authentication: SSH provides robust authentication mechanisms, such as password-based and public-key authentication, to verify the identity of users and devices.
- Portability: SSH is supported on virtually all major operating systems, making it a universal solution for remote access.
- Reliability: SSH connections are reliable and can be configured to automatically reconnect in case of network interruptions.
With these benefits, SSH is the go-to protocol for Mac users who want to monitor their IoT devices securely and efficiently.
Setting Up SSH on Mac
Installing SSH
MacOS comes with SSH pre-installed, so there's no need to download or install any additional software. To verify that SSH is installed on your Mac, open the Terminal application and type the following command:
ssh -V
Read also:Yoo Jungii A Rising Star In The Entertainment Industry
This will display the version of SSH installed on your system. If SSH is not installed, you can download it from the official OpenSSH website or use a package manager like Homebrew to install it.
Configuring SSH
Before you can use SSH for remote IoT monitoring, you'll need to configure it properly. This involves setting up the SSH server on your IoT device and configuring the SSH client on your Mac. Here are the steps:
- Enable SSH on the IoT Device: Most IoT devices have SSH enabled by default, but you may need to check the device's documentation to confirm.
- Generate SSH Keys: On your Mac, generate a pair of SSH keys using the
ssh-keygencommand. This will create a public and private key pair that you can use for authentication. - Copy Public Key to IoT Device: Use the
ssh-copy-idcommand to copy your public key to the IoT device. This will allow you to log in without entering a password.
Connecting to IoT Devices
Once SSH is set up on both your Mac and the IoT device, you can connect to the device using the Terminal application. Here's how:
- Open the Terminal application on your Mac.
- Type the following command, replacing
usernameandip_addresswith the appropriate values for your IoT device:
ssh username@ip_address
If everything is configured correctly, you should now be connected to your IoT device via SSH. From here, you can execute commands, transfer files, and monitor the device's status in real-time.
Securing Your SSH Connection
Using SSH Keys
While password-based authentication is convenient, it's not the most secure method. To enhance the security of your SSH connection, you should use SSH keys for authentication. Here's how:
- Generate an SSH key pair using the
ssh-keygencommand. - Copy the public key to the IoT device using the
ssh-copy-idcommand. - Test the connection by logging in without entering a password.
Disabling Password Authentication
To further secure your SSH connection, you can disable password authentication altogether. This forces all users to use SSH keys for authentication, reducing the risk of brute-force attacks. To disable password authentication:
- Log in to the IoT device via SSH.
- Open the SSH configuration file using a text editor:
sudo nano /etc/ssh/sshd_config
- Find the line that says
PasswordAuthentication yesand change it toPasswordAuthentication no. - Save the file and restart the SSH service:
sudo service ssh restart
Troubleshooting SSH Issues
Even with proper configuration, SSH connections can sometimes fail. Here are some common issues and how to resolve them:
- Connection Refused: This usually indicates that the SSH server is not running on the IoT device. Check the device's documentation to ensure that SSH is enabled.
- Authentication Failed: If you're unable to log in, double-check your username, password, and public key settings.
- Timeout Errors: These can occur if the network connection is unstable. Try reconnecting or using a different network.
Best Practices for Remote IoT Monitoring
To ensure that your remote IoT monitoring setup is secure and efficient, follow these best practices:
- Use Strong Passwords: If you must use password-based authentication, make sure to use strong, unique passwords for each device.
- Regularly Update Software: Keep both your Mac and IoT devices up to date with the latest security patches and firmware updates.
- Monitor Logs: Regularly check the SSH logs on your IoT devices for any suspicious activity.
Common Use Cases
Remote IoT monitoring via SSH has a wide range of applications. Here are some common use cases:
- Smart Home Automation: Monitor and control smart home devices such as thermostats, security cameras, and lighting systems.
- Industrial IoT: Remotely manage industrial sensors and equipment in manufacturing plants.
- Agriculture: Monitor soil moisture levels, weather conditions, and other environmental factors in agricultural systems.
Tools for Efficient SSH Monitoring
In addition to the built-in SSH client on your Mac, there are several tools and applications that can enhance your remote IoT monitoring experience:
- Termius: A cross-platform SSH client that offers a user-friendly interface and advanced features.
- SecureCRT: A powerful SSH client with support for scripting and automation.
- MobaXterm: A comprehensive remote computing tool that includes an SSH client, terminal emulator, and file transfer capabilities.
Conclusion and Next Steps
Remote IoT monitoring via SSH is a powerful tool for Mac users who need to manage and control their IoT devices securely. By following the steps outlined in this guide, you can set up a robust SSH connection and start monitoring your IoT devices in no time.
Remember to always prioritize security and follow best practices to protect your devices and data. If you have any questions or comments, feel free to leave them below. And don't forget to share this article with your fellow Mac users who are interested in remote IoT monitoring!
For more information on SSH and IoT, check out the following resources:

