How To Securely Use SSH To Raspberry Pi Remotely
SSH (Secure Shell) has become an essential tool for remote management of Raspberry Pi devices. Whether you're a developer, hobbyist, or professional IT administrator, understanding how to securely connect to your Raspberry Pi remotely is crucial for maximizing its potential. In this comprehensive guide, we will explore everything you need to know about setting up and using SSH to Raspberry Pi remotely.
SSH provides a secure way to access your Raspberry Pi from anywhere in the world, allowing you to perform administrative tasks, manage files, and run applications without needing physical access to the device. With the growing popularity of IoT (Internet of Things) projects, remote access to Raspberry Pi has become more important than ever.
However, it's essential to set up your remote SSH connection securely to protect your device from unauthorized access. This guide will walk you through the process step-by-step, ensuring you have a robust and reliable setup for remote management of your Raspberry Pi.
Read also:Sissi Bomer The Extraordinary Journey Of A Rising Star
Table of Contents
- Introduction to SSH and Raspberry Pi
- Prerequisites for SSH to Raspberry Pi Remotely
- How to Enable SSH on Raspberry Pi
- Connecting to Raspberry Pi via SSH
- Securing Your SSH Connection
- Troubleshooting Common SSH Issues
- Advanced SSH Configurations
- Setting Up Port Forwarding
- Using Dynamic DNS for Remote Access
- Best Practices for SSH to Raspberry Pi Remotely
Introduction to SSH and Raspberry Pi
SSH, or Secure Shell, is a network protocol that allows users to securely connect to remote devices over an unsecured network. Raspberry Pi, a versatile and affordable single-board computer, can be managed remotely using SSH, making it an ideal tool for developers and enthusiasts alike.
Raspberry Pi supports SSH out of the box, but it requires proper configuration to ensure secure and reliable remote access. Whether you're running a headless server or managing IoT devices, SSH plays a critical role in enabling seamless communication between your local machine and Raspberry Pi.
In this section, we'll explore the basics of SSH and how it integrates with Raspberry Pi. We'll also discuss why SSH is the preferred method for remote management and how it enhances security compared to other protocols.
Prerequisites for SSH to Raspberry Pi Remotely
Before diving into the setup process, it's essential to ensure you have all the necessary tools and configurations in place. Below is a list of prerequisites for successfully setting up SSH to Raspberry Pi remotely:
- A Raspberry Pi device with Raspbian or any compatible operating system installed.
- An active internet connection for both your Raspberry Pi and the device you'll use to connect remotely.
- An SSH client installed on your local machine (e.g., Terminal for macOS/Linux or PuTTY for Windows).
- The IP address of your Raspberry Pi, either local or public, depending on your setup.
Additionally, ensure that your Raspberry Pi is up-to-date with the latest software updates to avoid compatibility issues. Regularly updating your system not only improves performance but also enhances security.
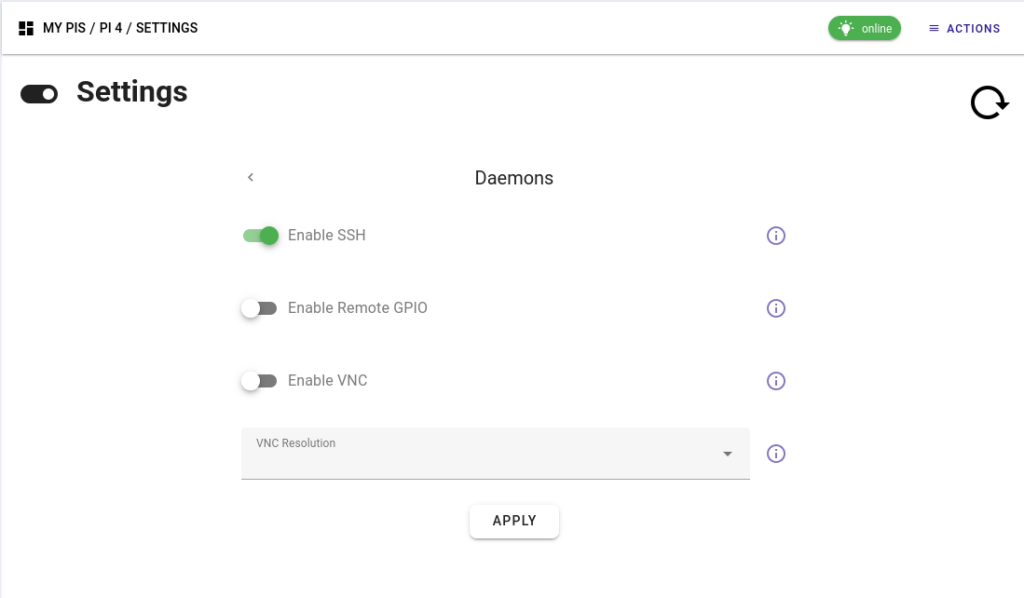
How to Enable SSH on Raspberry Pi
Enabling SSH on your Raspberry Pi is the first step toward setting up remote access. By default, SSH is disabled on Raspberry Pi to prevent unauthorized access. Follow the steps below to enable SSH:
Read also:Karl Thomas Dean The Dynamic Mayor Of Nashville
Step 1: Access Raspberry Pi Configuration
Open the Raspberry Pi configuration tool by typing the following command in the terminal:
sudo raspi-config
Navigate to "Interfacing Options" and select "SSH" to enable the service.
Step 2: Enable SSH
Once in the SSH menu, choose "Enable" to activate the SSH service. Your Raspberry Pi will now be ready to accept incoming SSH connections.
Alternatively, you can enable SSH by creating an empty file named "ssh" in the boot partition of your SD card. This method is particularly useful if you're setting up a headless Raspberry Pi.
Connecting to Raspberry Pi via SSH
With SSH enabled, you can now connect to your Raspberry Pi from a remote machine. Follow the steps below to establish a secure connection:
Step 1: Identify the IP Address
Find the IP address of your Raspberry Pi by typing the following command in the terminal:
ifconfig or ip addr
Take note of the IP address assigned to your Raspberry Pi, as it will be used to establish the SSH connection.
Step 2: Use an SSH Client
On your local machine, open the SSH client and enter the following command:
ssh pi@
Replace
Securing Your SSH Connection
While SSH provides a secure method for remote access, it's crucial to implement additional security measures to protect your Raspberry Pi from unauthorized access. Below are some best practices for securing your SSH connection:
- Change the default password for the "pi" user account to a strong, unique password.
- Disable password authentication and use SSH keys for added security.
- Restrict SSH access to specific IP addresses using firewall rules.
- Change the default SSH port (22) to a non-standard port to reduce the risk of automated attacks.
Implementing these measures will significantly enhance the security of your SSH connection and protect your Raspberry Pi from potential threats.
Troubleshooting Common SSH Issues
Even with proper configuration, you may encounter issues when trying to connect to your Raspberry Pi via SSH. Below are some common problems and their solutions:
Issue 1: Connection Refused
If you receive a "Connection refused" error, ensure that SSH is enabled on your Raspberry Pi and that the IP address is correct. Also, check your firewall settings to ensure that SSH traffic is allowed.
Issue 2: Permission Denied
A "Permission denied" error usually indicates incorrect login credentials. Double-check the username and password, and ensure that SSH keys are properly configured if you're using key-based authentication.
Advanced SSH Configurations
For advanced users, there are several configurations that can enhance the functionality and security of SSH on Raspberry Pi. Below are some examples:
1. SSH Tunnels
SSH tunnels allow you to securely forward traffic between your local machine and Raspberry Pi. This is particularly useful for accessing services running on your Raspberry Pi from a remote location.
2. SSH Port Forwarding
Port forwarding enables you to redirect traffic from one port to another, allowing you to access specific services on your Raspberry Pi securely.
Setting Up Port Forwarding
To access your Raspberry Pi remotely from outside your local network, you'll need to set up port forwarding on your router. Follow these steps:
- Log in to your router's admin interface.
- Locate the port forwarding settings and create a new rule.
- Set the external port to the desired port number (e.g., 2222) and the internal port to 22.
- Specify the IP address of your Raspberry Pi as the destination.
Once port forwarding is configured, you can connect to your Raspberry Pi using its public IP address and the specified external port.
Using Dynamic DNS for Remote Access
If your internet service provider assigns a dynamic IP address to your router, consider using a Dynamic DNS (DDNS) service to maintain a consistent hostname for remote access. Popular DDNS providers include No-IP and DynDNS, which offer both free and paid plans.
By setting up DDNS, you can connect to your Raspberry Pi using a hostname instead of an IP address, simplifying the remote access process and eliminating the need to update your configuration whenever your IP address changes.
Best Practices for SSH to Raspberry Pi Remotely
To ensure a secure and reliable SSH connection to your Raspberry Pi, follow these best practices:
- Regularly update your Raspberry Pi's operating system and software to patch vulnerabilities.
- Use strong, unique passwords and enable two-factor authentication (2FA) whenever possible.
- Monitor SSH logs for suspicious activity and investigate any unauthorized login attempts.
- Limit SSH access to trusted devices and networks to minimize the risk of unauthorized access.
By adhering to these best practices, you can enjoy the benefits of remote access while maintaining the security and integrity of your Raspberry Pi.
Conclusion
In conclusion, SSH is an indispensable tool for remotely managing Raspberry Pi devices. By following the steps outlined in this guide, you can set up a secure and reliable SSH connection to your Raspberry Pi, enabling you to perform administrative tasks and manage files from anywhere in the world.
We encourage you to implement the security measures discussed in this article to protect your device from potential threats. Additionally, feel free to share your thoughts and experiences in the comments section below. If you found this guide helpful, consider exploring other articles on our site for more tips and tricks related to Raspberry Pi and other tech topics.


 has become an essential tool for remote management of Raspberry Pi devices. Whether you're a developer, hobbyist, or professional IT administ)