Comprehensive Guide To Raspberry Pi Remote IO Setup Free Download
Setting up Raspberry Pi remote IO is an essential skill for hobbyists, engineers, and tech enthusiasts alike. Whether you're working on home automation projects or industrial applications, mastering this setup can significantly enhance your capabilities. This guide will walk you through everything you need to know about Raspberry Pi remote IO setup, including free download options and valuable tips.
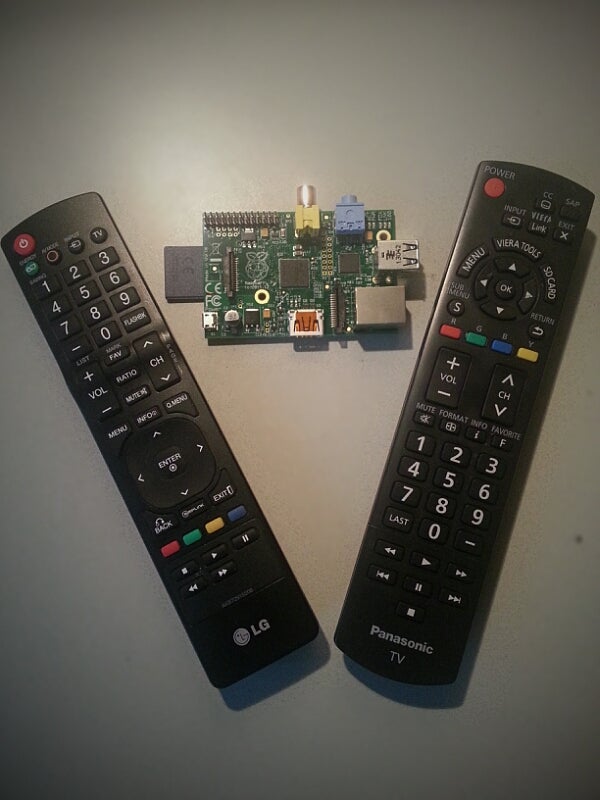
Raspberry Pi has revolutionized the world of embedded computing and IoT projects. With its versatility and affordability, it has become a favorite among makers worldwide. One of the most exciting features of Raspberry Pi is its ability to function as a remote input/output (IO) device, allowing users to control and monitor systems remotely.
This article aims to provide a detailed and practical guide for setting up Raspberry Pi remote IO. Whether you're a beginner or an advanced user, this comprehensive resource will equip you with the knowledge and tools necessary to succeed. Let's dive in!
Read also:Alphonse John Gangitano A Comprehensive Look At His Life Achievements And Legacy
Table of Contents
- Introduction to Raspberry Pi Remote IO
- Benefits of Raspberry Pi Remote IO Setup
- Software Options for Raspberry Pi Remote IO
- Step-by-Step Raspberry Pi Remote IO Setup
- Hardware Requirements
- Common Issues and Troubleshooting
- Applications of Raspberry Pi Remote IO
- Free Download Options
- Tips for Optimizing Raspberry Pi Remote IO
- Conclusion and Next Steps
Introduction to Raspberry Pi Remote IO
Raspberry Pi remote IO refers to the ability to use a Raspberry Pi as a remote input/output device. This setup allows users to control and monitor external devices or systems from a distance. It is particularly useful in scenarios where physical proximity to the device is not feasible or desirable.
What is Raspberry Pi?
Raspberry Pi is a series of small single-board computers developed by the Raspberry Pi Foundation. Originally intended for educational purposes, it has since gained popularity among hobbyists and professionals alike due to its versatility and affordability.
Why Use Raspberry Pi for Remote IO?
Using Raspberry Pi for remote IO offers several advantages, including:
- Cost-effectiveness: Raspberry Pi is relatively inexpensive compared to other solutions.
- Flexibility: It supports a wide range of operating systems and programming languages.
- Community Support: A vast community of developers contributes to its ecosystem, providing resources and support.
Benefits of Raspberry Pi Remote IO Setup
Setting up Raspberry Pi remote IO can bring numerous benefits to your projects. Here are some key advantages:
Enhanced Control
With remote IO, you can control devices from anywhere in the world, provided you have an internet connection. This is particularly useful for monitoring and managing IoT devices.
Automation Capabilities
Raspberry Pi can automate repetitive tasks, reducing the need for manual intervention. This is especially beneficial in industrial settings where efficiency is crucial.
Read also:Richard Dean Anderson The Iconic Star Of Tv And Film
Scalability
Raspberry Pi remote IO setups can be easily scaled to accommodate more devices or larger systems. This makes it an ideal solution for growing projects.
Software Options for Raspberry Pi Remote IO
Several software options are available for setting up Raspberry Pi remote IO. These include:
1. RemoteIO for Raspberry Pi
This software package is specifically designed for Raspberry Pi and offers a user-friendly interface for configuring remote IO settings.
2. Python Libraries
Python is a popular programming language for Raspberry Pi due to its simplicity and power. Libraries such as RPi.GPIO and PySerial provide robust tools for managing IO operations.
3. MQTT Protocol
MQTT (Message Queuing Telemetry Transport) is a lightweight protocol ideal for IoT applications. It enables efficient communication between devices, making it perfect for remote IO setups.
Step-by-Step Raspberry Pi Remote IO Setup
Follow these steps to set up Raspberry Pi remote IO:
Step 1: Prepare Your Raspberry Pi
Ensure your Raspberry Pi is properly set up with the latest version of Raspberry Pi OS. Update the system using the following commands:
sudo apt update and sudo apt upgrade.
Step 2: Install Required Software
Install the necessary software packages for remote IO. For example, to use MQTT, install Mosquitto using:
sudo apt install mosquitto mosquitto-clients.
Step 3: Configure Remote IO
Configure the remote IO settings according to your project requirements. Refer to the software documentation for detailed instructions.
Hardware Requirements
Before setting up Raspberry Pi remote IO, ensure you have the following hardware components:
- Raspberry Pi board
- Power supply
- MicroSD card with Raspberry Pi OS installed
- Network connectivity (Wi-Fi or Ethernet)
- External devices to connect (sensors, actuators, etc.)
Common Issues and Troubleshooting
Here are some common issues you may encounter during Raspberry Pi remote IO setup and their solutions:
Issue 1: Connectivity Problems
Solution: Ensure your Raspberry Pi is connected to the network and verify the IP address using ifconfig or ip addr.
Issue 2: Software Compatibility
Solution: Check the software version and ensure it is compatible with your Raspberry Pi model. Update the software if necessary.
Applications of Raspberry Pi Remote IO
Raspberry Pi remote IO can be applied in various fields, including:
Home Automation
Control smart home devices such as lights, thermostats, and security systems remotely.
Industrial Automation
Monitor and manage industrial equipment and processes from a central location.
Agriculture
Implement precision farming techniques by monitoring soil moisture, temperature, and other environmental factors.
Free Download Options
Several free resources are available for Raspberry Pi remote IO setup. These include:
Tips for Optimizing Raspberry Pi Remote IO
Here are some tips to optimize your Raspberry Pi remote IO setup:
- Use secure protocols such as HTTPS or SSH for remote connections.
- Regularly update your software to ensure compatibility and security.
- Monitor system performance and make adjustments as needed.
Conclusion and Next Steps
In conclusion, setting up Raspberry Pi remote IO can significantly enhance your project capabilities. By following the steps outlined in this guide, you can successfully configure your Raspberry Pi for remote input/output operations.
We encourage you to share your thoughts and experiences in the comments section below. Additionally, consider exploring other Raspberry Pi projects to further expand your skills. Thank you for reading, and happy tinkering!
Data Source: Raspberry Pi Foundation.


